New Bike Set-Up Instructions
Once you have received your new bike from Tredz, there are just a few steps to do before you are ready to ride.
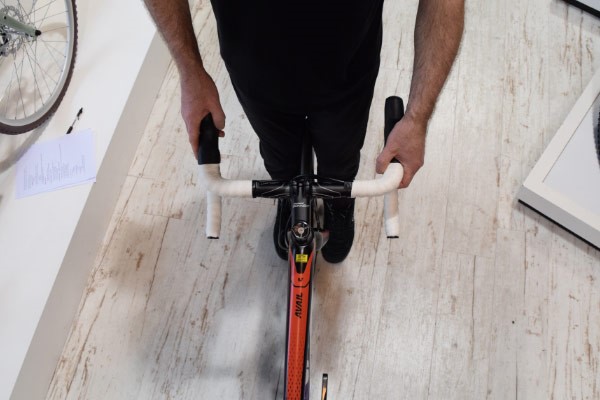
Straighten the handlebars
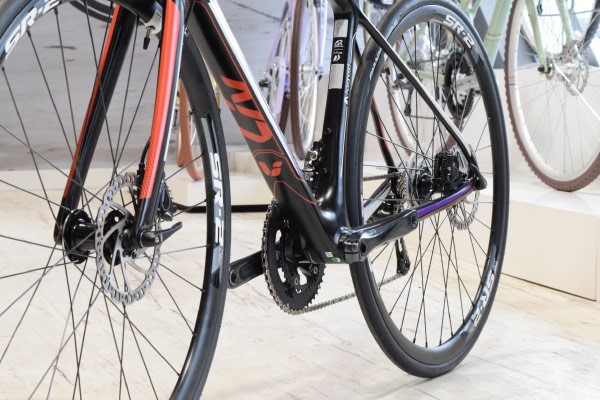
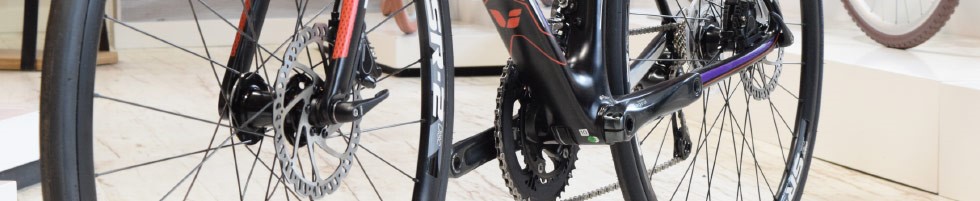
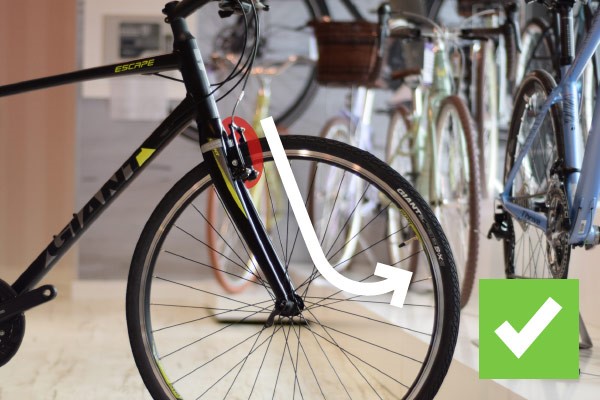
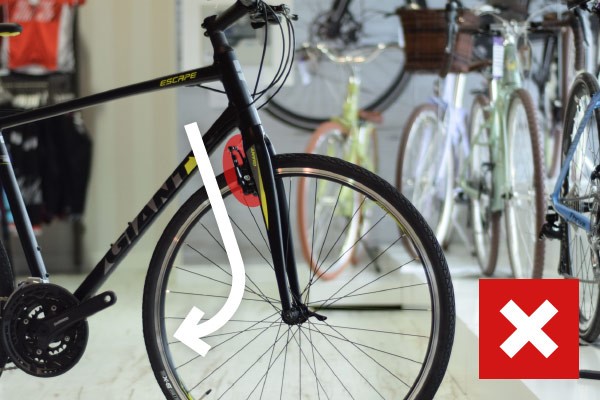
1Check that the front wheel is the right way around
Rigid fork – Road bikes & some hybrids - fork bends or slopes slightly forward
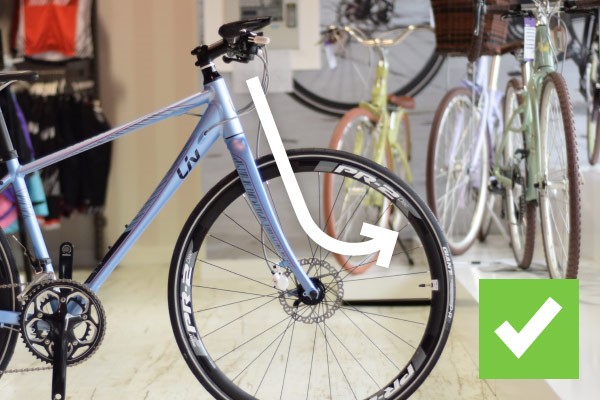

Rim brake calliper in front of fork (apart from some high end aero road bikes)
or disc brake rotors are both on the left (non-drive) side of the bike
Suspension fork – MTBs & some hybrids
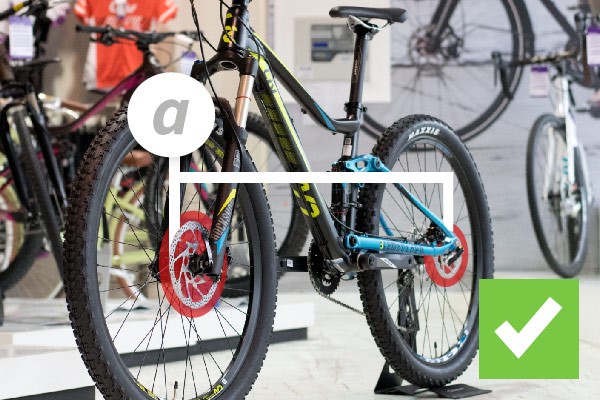
Front wheel axle is slightly in front of the fork legs and (a) Disc brake rotors are both on the left (non-drive) side of the bike…
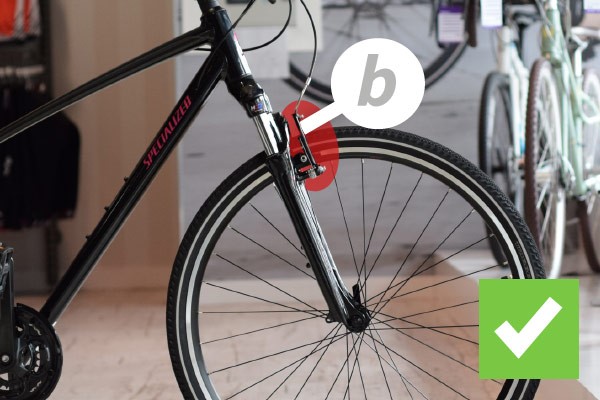
… or rim brake calliper in front of the fork (b)
2Identify stem type
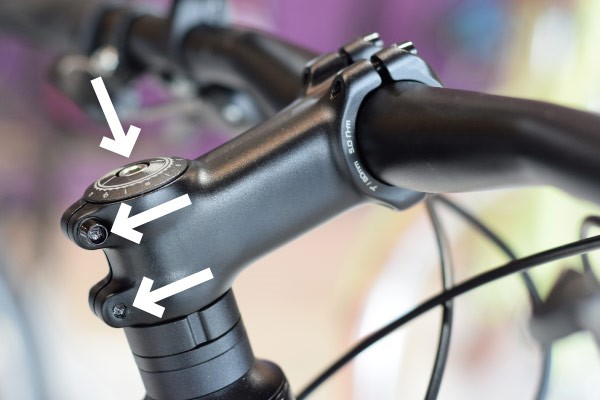
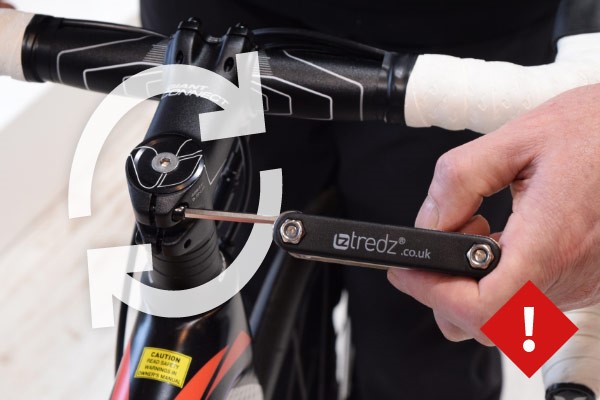
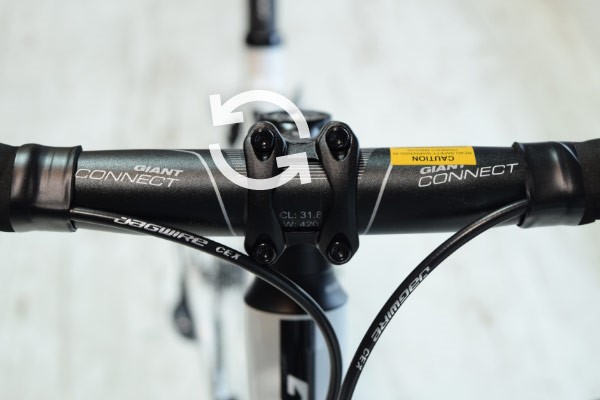
3aLine up the handlebars - Threadless ‘Ahead’ stem
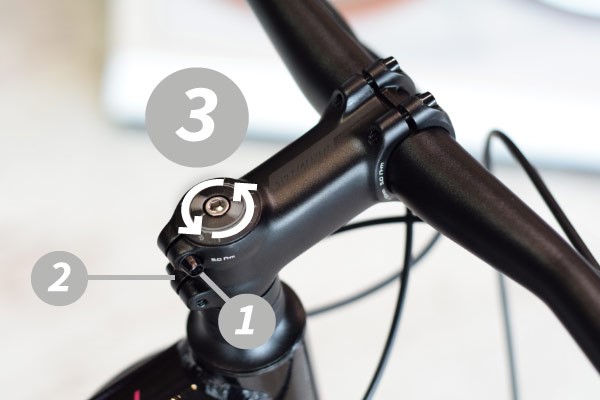
a. Ensure the top and side stem bolts are in place and loosened
b. Line up the handlebars so they are at 90 degrees to the front wheel. This doesn’t need to be perfect at this stage as we will be checking it again later.
c. Tighten the top bolt, using the multi tool provided only until resistance is felt.

d. Check the headset for play (fore/aft movement) by holding the front brake and rocking the bike back and forward vigorously. If there is play tighten the top bolt a little more.
e. Check that the handlebars are still at 90 degrees to the front wheel when viewed from above.
f. Tighten the side stem bolts to secure the stem in position.
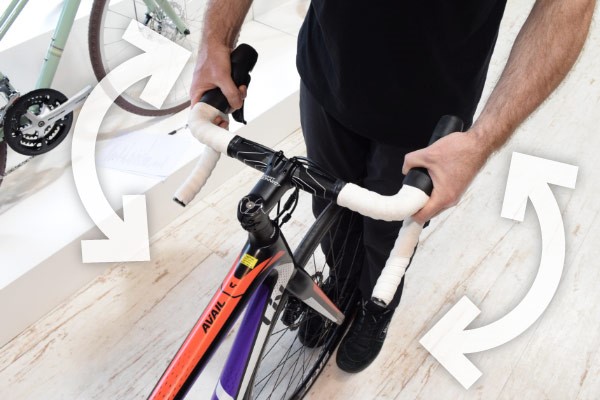
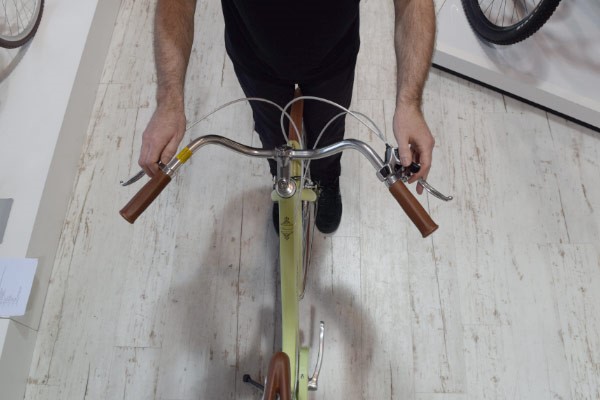
g. Check that the stem is secure: Place the front wheel between your legs and twist the handlebars. If the stem moves, tighten the side stem bolt further.
 Note: Be careful not to over tighten as this can cause damage. Tredz recommend using a torque wrench to tighten bolts to manufacturer recommended settings
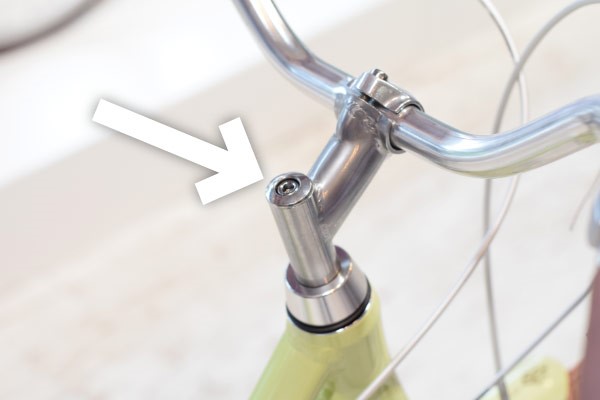
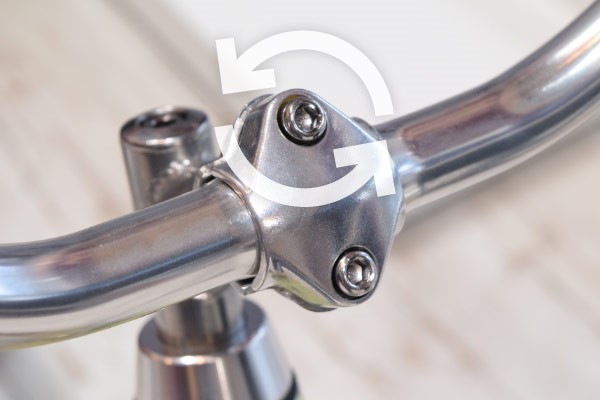
3bLine up the handlebars - Quill Stem
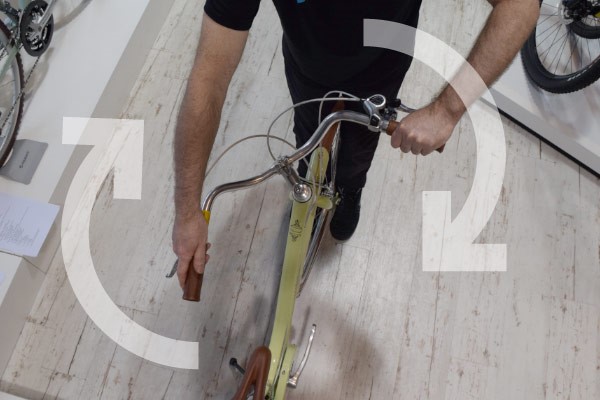
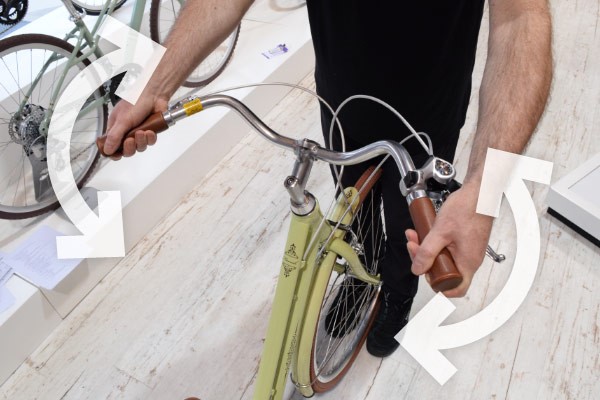
a. Rotate the handlebar
b. Line up the handlebar so that it is 90 degrees to the front wheel when viewed from above.
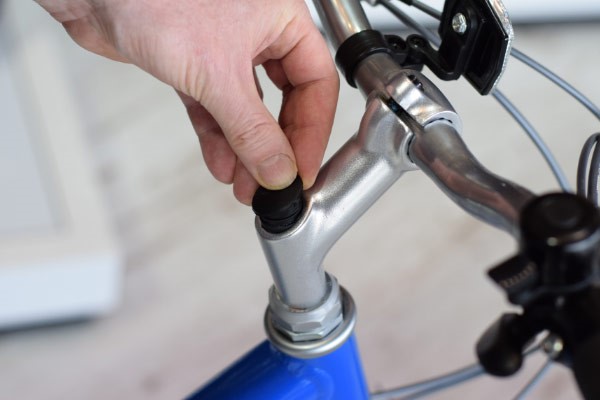
c. Carefully remove the plug covering the top stem bolt (if present) with your fingers or a flat head screwdriver.
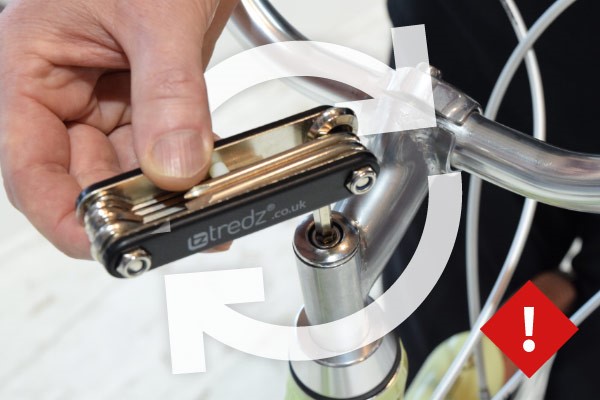
d. Tighten the bolt, using the multi tool provided until resistance is felt. Reattach the plug if needed.
e. Check that the stem is secure: Place the front wheel between your legs and twist the handlebars. If the stem moves, reset the position and tighten the stem bolt further.
Note: Be careful not to over tighten as this can cause damage. Tredz recommend using a torque wrench to tighten bolts to manufacturer recommended settings
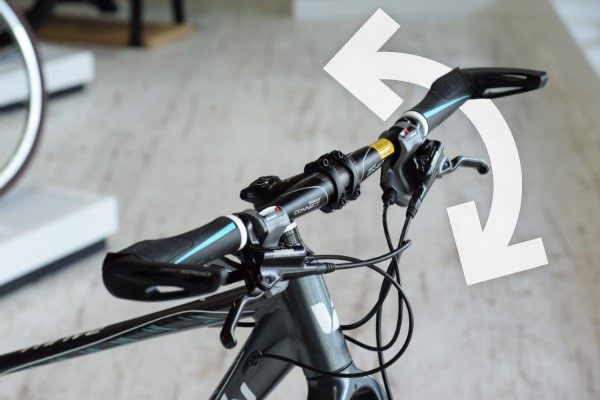
Set handlebar position
Sometimes, especially on road bikes, the handlebars may be rotated for transit and need to be rotated to the correct riding position.
To set your handlebars in the correct position:
1Loosen the bolts on the stem face plate so that you can rotate the bars
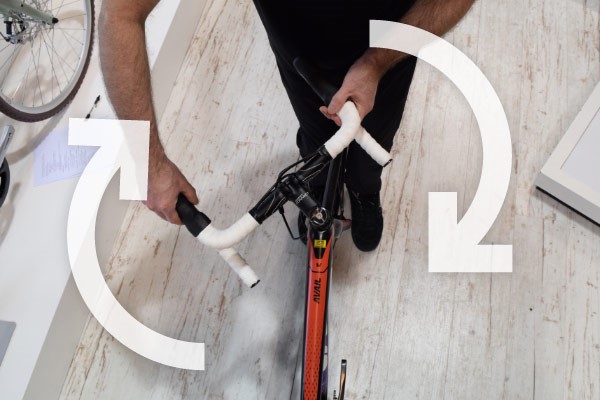
2Rotate the handlebars to the correct position
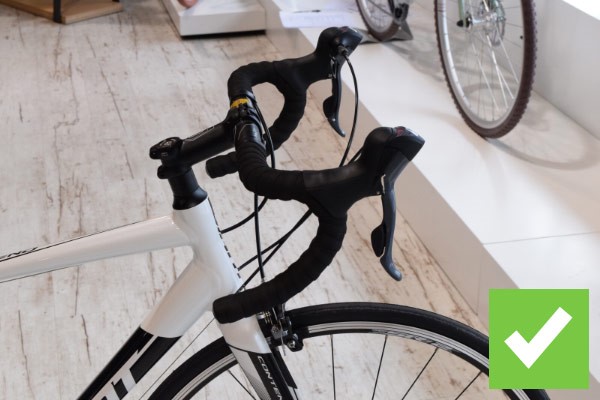
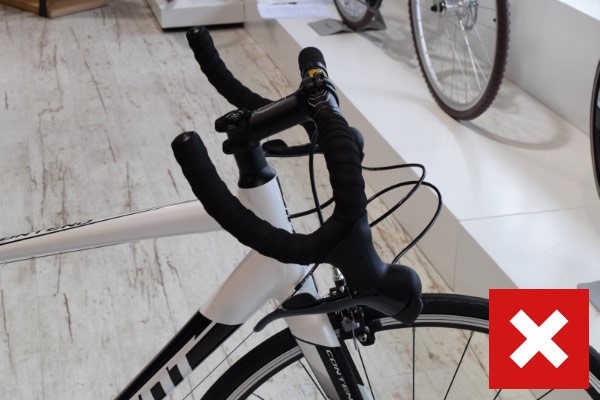
For road bike drop bars, the top part of the drops behind brake lever should be parallel to the ground
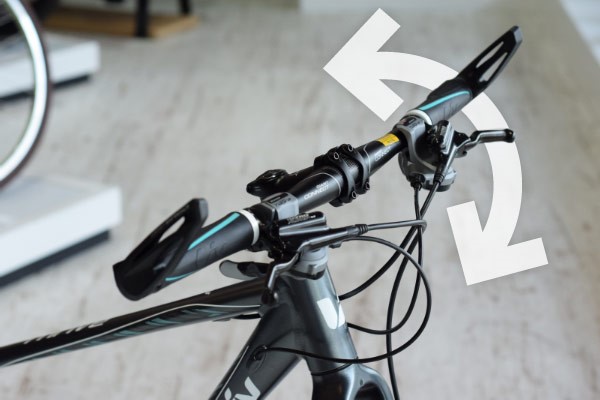
Flat handlebars are usually positioned correctly (with a slight rise and back-sweep) although you can rotate them slightly to find the most comfortable hand position.
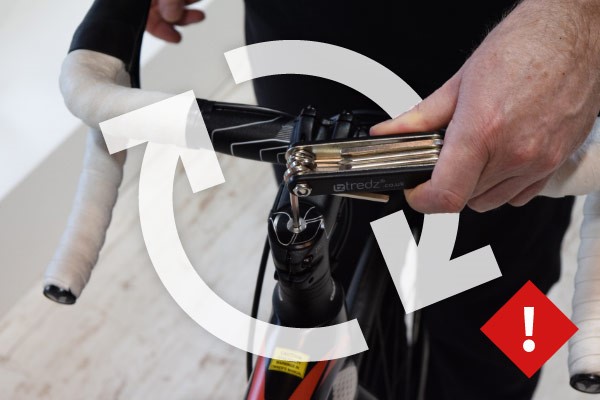
3Tighten the face plate bolts
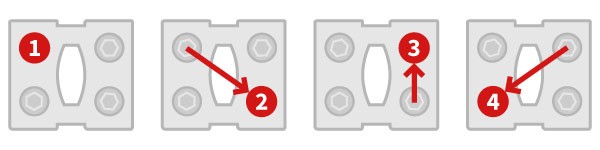
Tighten the face plate bolts gradually in a figure of eight pattern to ensure you get even tension on all sides. Tighten the bolts until the bars are secure – torque settings are usually printed on the stem.
Fitting the pedals
Pedals are left/right specific. Failure to follow these instructions may cause damage and invalidate your guarantee.
You can also watch our pedal fitting video below.
1Identify left and right pedals
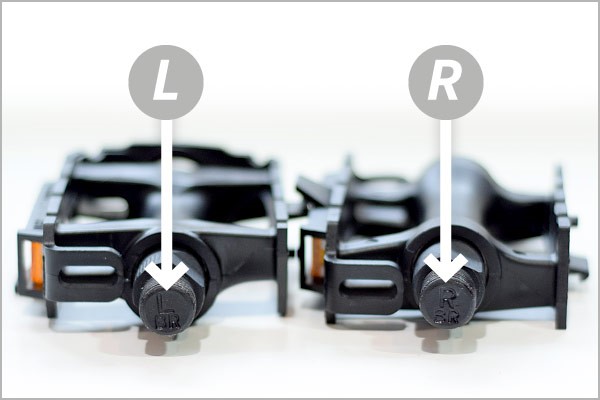
Look for the letter L or R stamped on the end of the axle or on the pedal body. It is important to identify the pedals correctly as the Left pedal has an anti-clockwise thread that will only fit on the Left crank while the Right pedal has a clockwise thread and will only fit on the Right crank.
2Identify left and right cranks
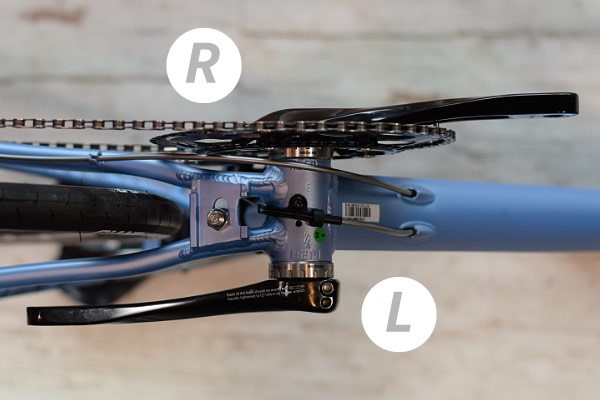
The Right-side crank will have the chain and chain ring(s) attached, the Left-side crank is on the opposite side to the drivetrain.
3Start tightening the pedals
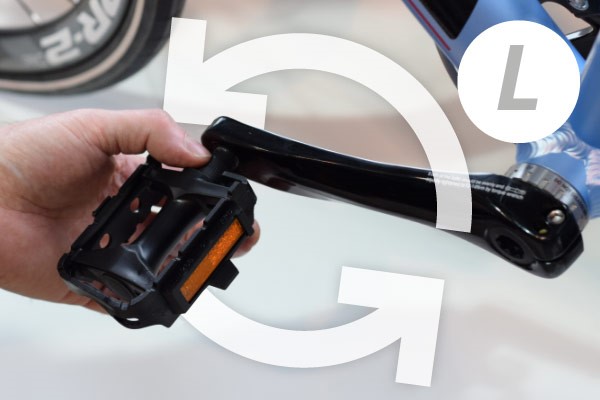
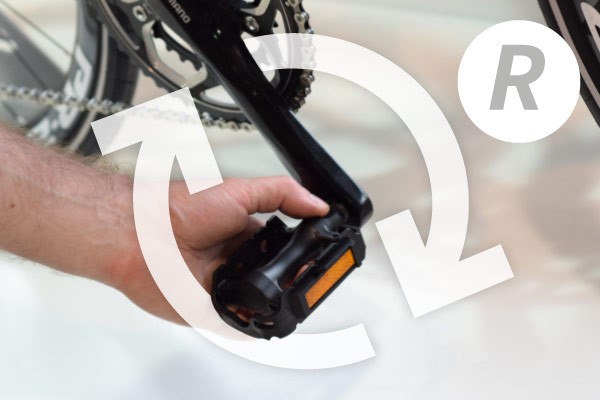
Do this by hand to start with to avoid damaging the thread. If you notice excessive resistance check that you have identified the pedals and crank arms correctly and try again. Applying a little grease to the pedal threads will make it easier to change them in the future.
Installing the pedals on the wrong side of the bike will strip the threads of the crank arm which can cause a hazard when riding. Please ensure you tighten the right pedal clockwise and the left pedal anti clockwise.
4Tighten the pedals
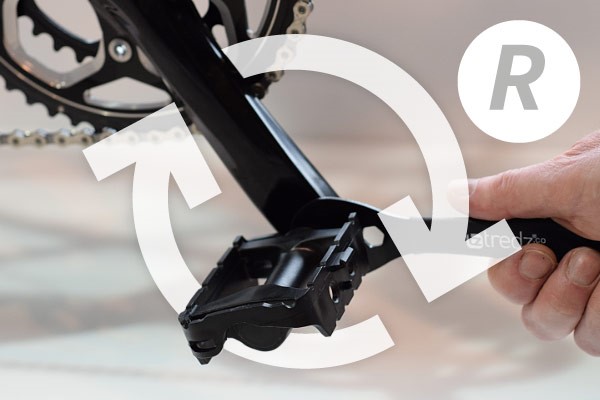
Once you have tightened the pedals as much as you can by hand use the 15mm spanner included with your bike and tighten them further. When installed correctly, pedals are self tightening so you only only need to tighten them with the spanner until you feel resistance (or to a specific torque setting if specified).
Please note: Some pedals need to be tightened with a 6mm or 8mm Allen key.
Battery Connection – E bikes only
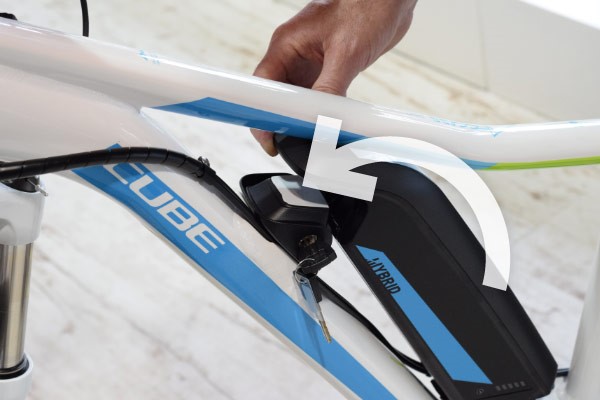
On electric bikes where the battery is housed on the frame, ensure that the battery is firmly pressed into the frame before locking it in place.
Once locked in place, check the battery is housed correctly and does not move.
Failure to lock the battery in place before riding can cause damage to your electric bike.