

How To Set Up Tubeless Ready Wheels & Tyres
Setting up tubeless tyres on tubeless ready rims can feel a bit tricky the first time, but it’s worth it for the improved performance and fewer punctures. Follow this step-by-step tubeless setup guide to get rolling smoothly with your new tubeless wheels and tyres.
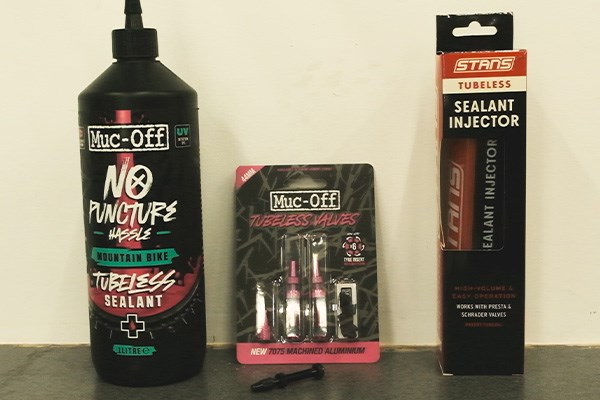
What You'll Need
- Bike With Tubeless Ready Wheels & Tyres
- Tubeless Valves
- Tubeless Sealant
- Sealant Injector (optional)
- Floor Pump
- Tubeless Inflator (optional)
- Tyre Levers
- Soapy Water
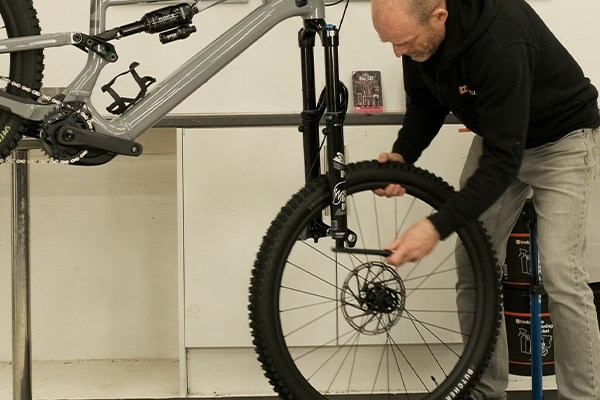
1Take Off the Wheels
Remove your wheels from the bike. You’ll need to do this to remove the innertube and it will make the process much easier to handle.
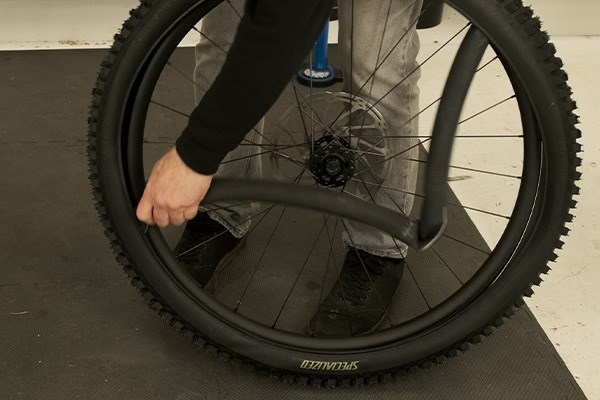
2Remove the Tyre & Tube
- Release all the air from your current tyres by pressing down the valve core.
- Using tyre levers if needed, carefully remove the tyre from the rim. Start on one side and work your way around the wheel.
- Most tubeless ready bikes are shipped with innertubes fitted. Remove them now and set them aside for future use or as a spare.
3Check the Rim Tape
Tubeless-ready rims should already be sealed with tubeless rim tape. Inspect the tape for any damage or gaps. If your wheels aren’t taped, you’ll need to apply tubeless-specific rim tape, ensuring a snug seal over the spoke holes.

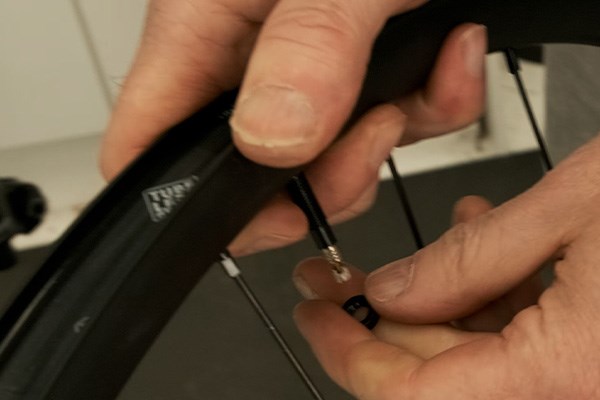
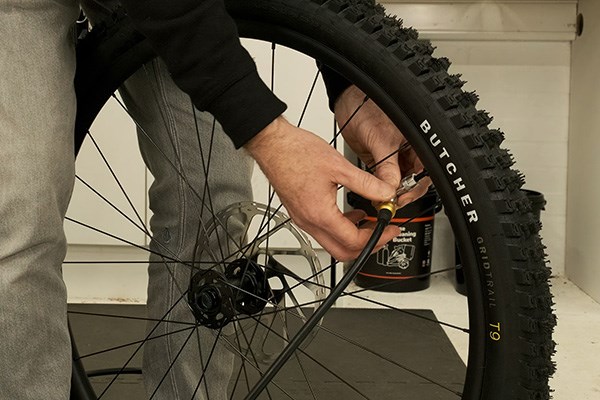
4Fit the Tubeless Valve
- Install a tubeless valve (either included with your bike or bought separately) through the valve hole in the rim.
- Secure it firmly by screwing on the locking nut from the outside. Pressing down on the base of the valve stem while screwing the locknut from the other side will help make a tight seal. Make sure it is tight to prevent air leaks.
- Remove the valve core using a valve core removal tool and set it aside. This is optional but will make seating the tyre easier later.
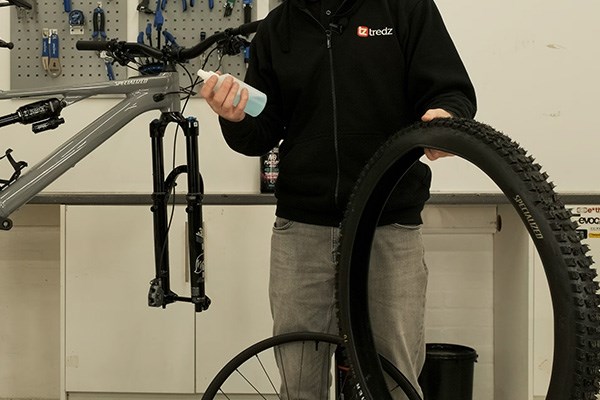
5Prep the Tyre
Apply soapy water around the bead of the tyre. This helps the tyre bead seat easily onto the rim when you inflate it.
- Make up a soapy solution using washing-up liquid and water.
- Wipe the tyre bead and/or rim with a cloth soaked in the soapy water or add the solution to a spray bottle and spray the soapy water on.
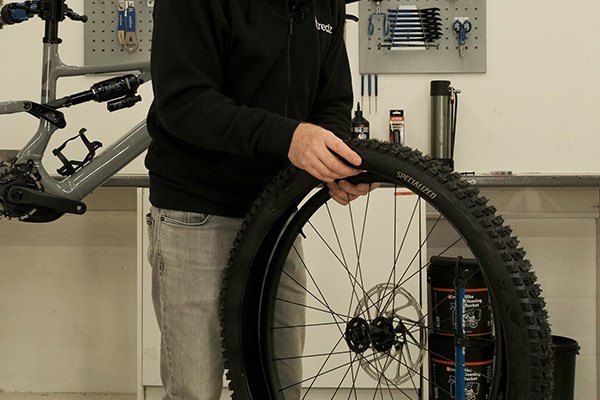
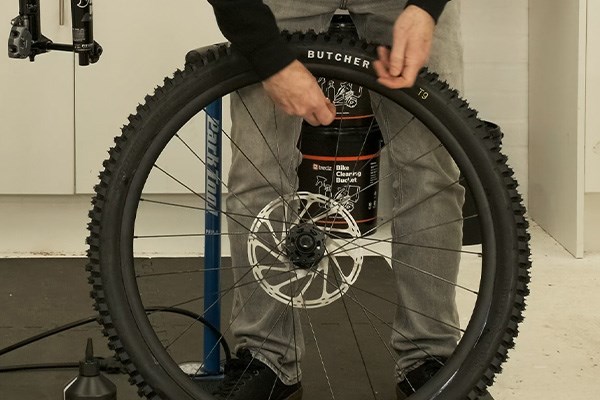
6Refit the Tyre
- Mount one side of the tyre onto the rim first.
- Next, mount the other side of the tyre, leaving it partly off if you plan to add sealant directly to the tyre, or seat it fully to add sealant through the valve.
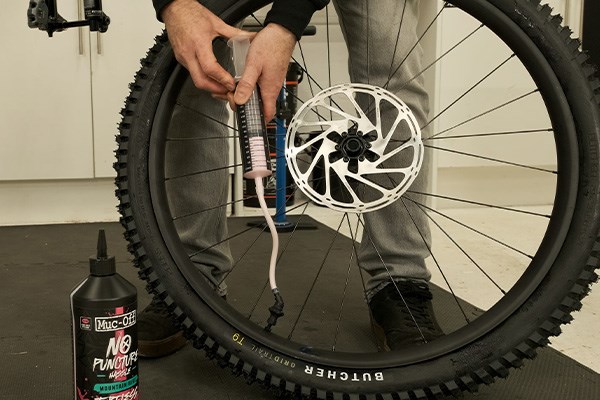
7Add Sealant
There are two methods for adding sealant to the tyre:
- Through the valve: with the tyre fully on the rim, use a syringe to inject sealant through the valve (with the core removed).
- Directly into the tyre: with the tyre partly off the rim, pour the sealant directly into the tyre before mounting the second bead onto the rim.
The amount of sealant you need will depend on the size of your tyre. Recommended amounts will be stated on the sealant bottle.
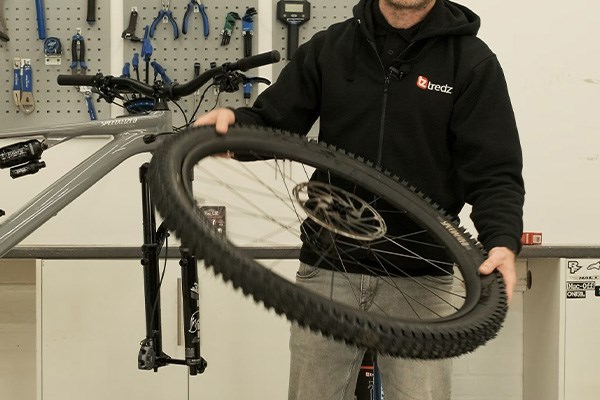
8Distribute the Sealant
Pick up the wheel and rotate it, sloshing the sealant around inside the tyre. This ensures the sealant coats the entire interior, sealing any small gaps.
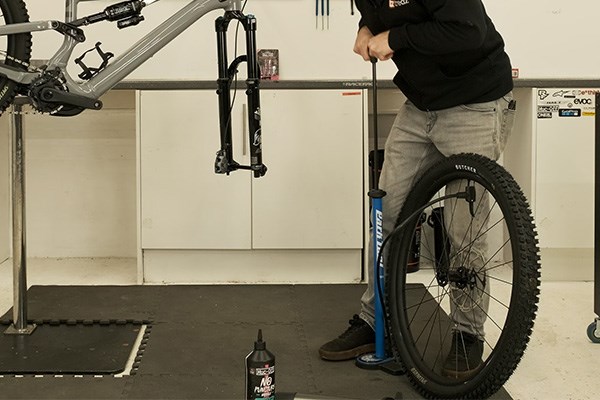
9‘Seat’ the Tyre
Inflate the tyre using a track pump or a tyre inflator (recommended). With the valve core removed, air will flow quickly and help the bead seat onto the rim. You’ll hear a series of pops as the bead locks into place.
 Note: If the tyre doesn’t inflate immediately, try applying more soapy water to help the tyre slide onto he bead, or use a higher-pressure tyre inflator.
10Deflate and Reinsert the Valve Core
Once the tyre is seated on the rim, carefully let the air out of the tyre without unseating the bead. Then, screw the valve core back in place.
11Inflate to Desired Pressure
Pump the tyre up to your preferred riding pressure. Check your tyre sidewall for the recommended PSI range. One of the great advantages of tubeless, is that you can run lower tyre pressure without increasing your risk of puncturing.
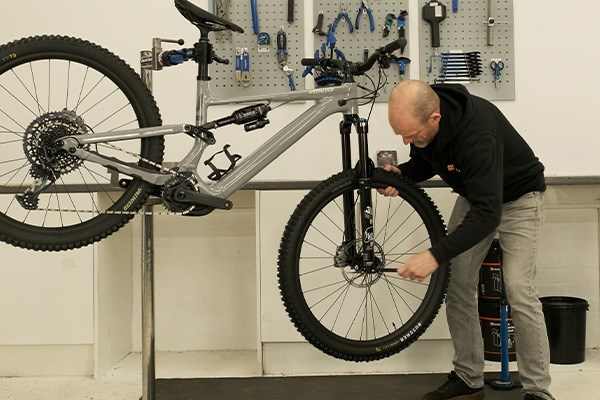
12Replace the Wheel
Reinstall the wheel back onto your bike, and repeat the process for the other wheel.
Check Tyre Pressure Before You Ride Tubeless tyres can sometimes loose a little pressure initially - while the sealant plugs any small gaps, so recheck your tyre pressures and reinflate if you need to before you ride.
With your tubeless tyres installed, you’re ready to hit the trails or roads. Enjoy the smoother ride, lower rolling resistance, increased grip and fewer punctures!
