How To Attach And Remove Pedals
Easily and quickly install and remove your pedals
It is important to know the steps to properly attach pedals to your bike. The pedals have opposite threads to each other, making it only possible for them to go in one side of the bike. We will show you how to identify this, as well as how to easily fit the pedals thereafter.
What you will need
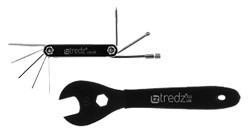
15mm Pedal Spanner or 6/8mm Allen key
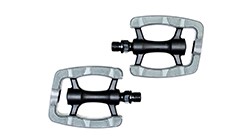
Pedals

Grease (optional)
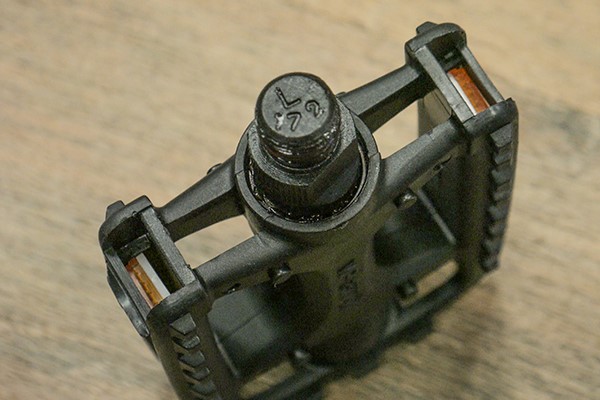
1Identify Right and Left Pedals
The pedals should have an R and an L stamped in the axles indicating which side the pedals attach to (right and left sides observed as you are sitting on the bike). This will either show on the flat space where the pedal spanner fits onto, or on the end of the axles, where the Allen key fits into. It is also sometimes stamped on the pedal body.
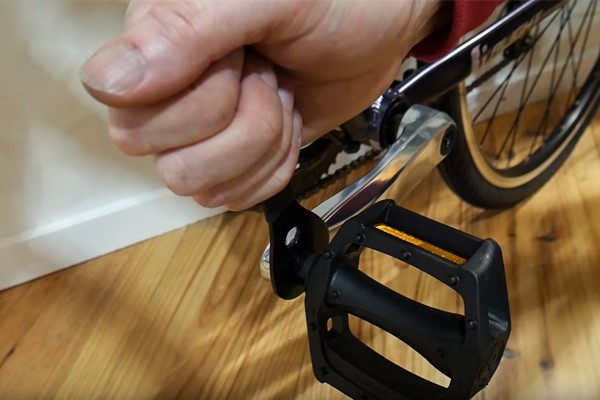
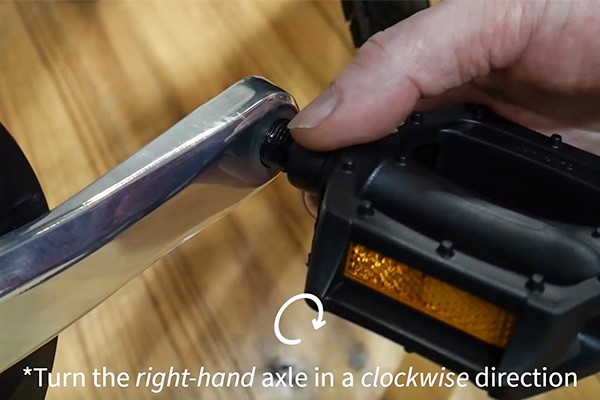
2Attaching the right hand pedal
The pedal body and pedal axle rotate freely from each other, so you will need to screw the pedal in by the axle. It is worth adding a touch of grease onto the threads before attaching, as it will make it easier to both attach and remove.
It is very important to start by screwing the Right pedal BY HAND into the crank arm in a Clockwise direction, or towards the front of the bike. It should go in easily. When it gets to the end, use the spanner or Allen key to tighten it fully. Use only a small amount of force to tighten.
3Attaching left hand pedal
As with the right hand pedal, you will need to screw the left pedal in by the axle and it is worth adding a touch of grease onto the threads before attaching.
It is very important to start by screwing the Left pedal BY HAND into the crank arm in an Anti-clockwise direction (opposite to normal threading), or towards the front of the bike. It should go in easily. When it gets to the end, use the spanner or Allen key to tighten it fully. Use only a small amount of force to tighten.

4Removing pedals
You may need to remove the pedals at some point. It is as simple as attaching them. Using a pedal spanner or Allen key, loosen the pedals by turning towards the rear of the bike or an Anti-clockwise position for the Right and a Clockwise position for the Left.