How To Set Up A Wheel On Trainer
Setting up your wheel-on turbo trainer is a straightforward process, but it is important to do it correctly, so you don’t harm your equipment. This step-by-step guide will show you how to set up your wheel-on turbo trainer safely and securely.
Things To Consider Before Setting Up Your Trainer
Before you get started, there are a few things to consider. If you have a smart trainer make sure you set it up next to a socket so the trainer can be plugged in. Then make sure you have a Bluetooth or ANT+ device ready to connect to your trainer such as a phone, tablet, or bike computer.
If you don't have a smart trainer the set up procedure is much the same, but you won't need to plug it in or set up any apps.
What You'll Need
- 6mm and 2mm Allen Key
- Wahoo Quick Release Skewer - For bikes with quick release axles
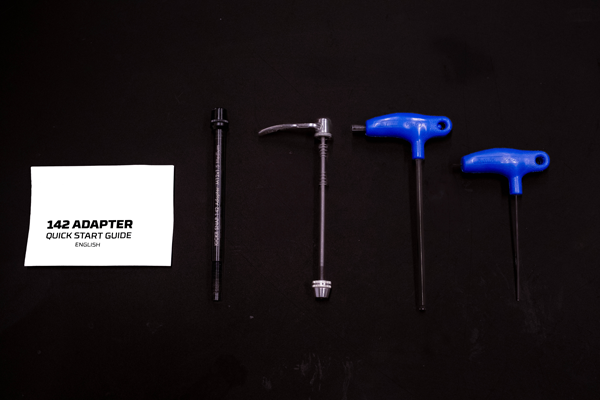
- Thru Axle Adapter Kit (Sold Separately) - For bikes with Thru axles
- Front Wheel Block
- Floor Mat (optional)
- Turbo Trainer Specific Tyre (optional)
1
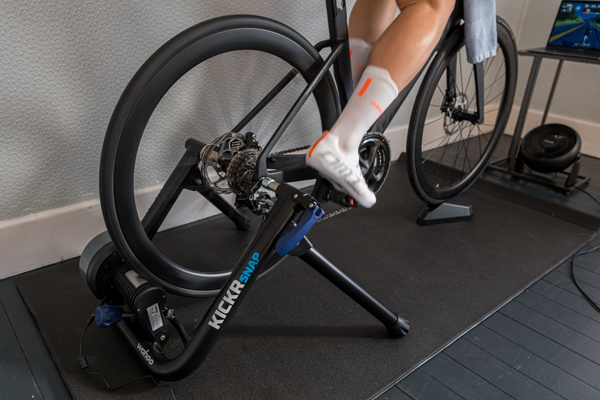
First unfold the turbo trainer legs and put the trainer in place.
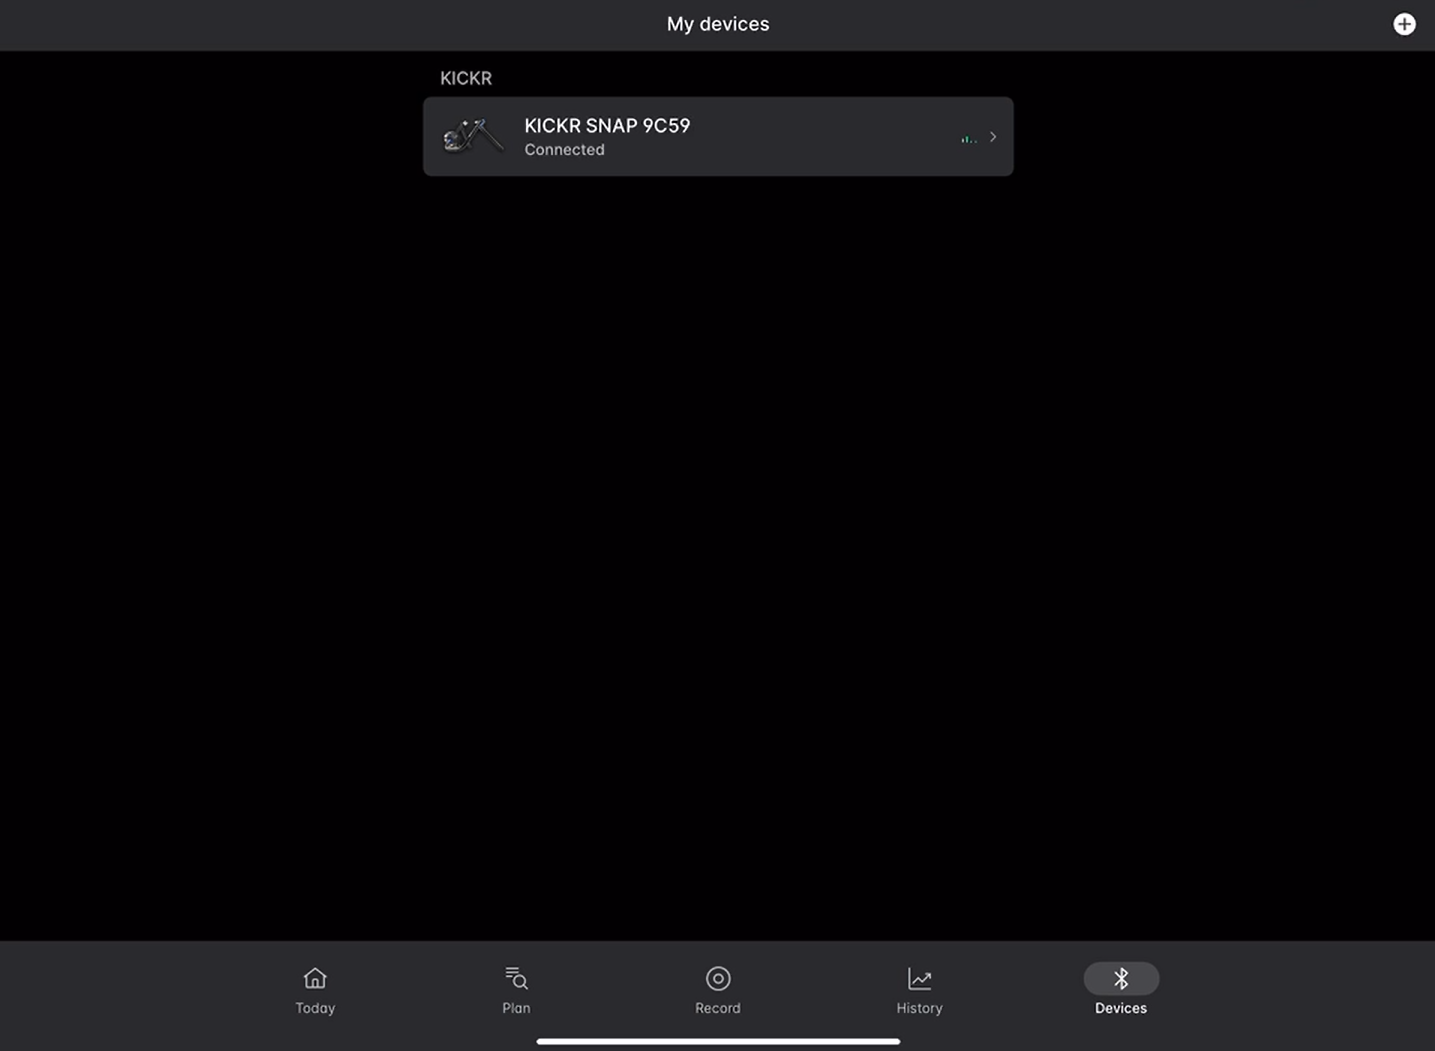
If you're using a smart trainer like the Wahoo KICKR SNAP featured here ensure you place the trainer close to a power socket. Placing the trainer on a floor mat will ensure you don't damage leave dents on your carpet or damage your floor.

2
Next remove your bikes thru axle or quick release axle. This is because you will need a turbo trainer specific axel to clamp the bike to the trainer
 Note: If you have a specific turbo tyre you will want fit this to your rear wheel. This is important as your standard road tyre will wear considerably on the roller. A harder compound tyre or specific turbo tyre will ensure this doesn’t ruin your road tyre.

3
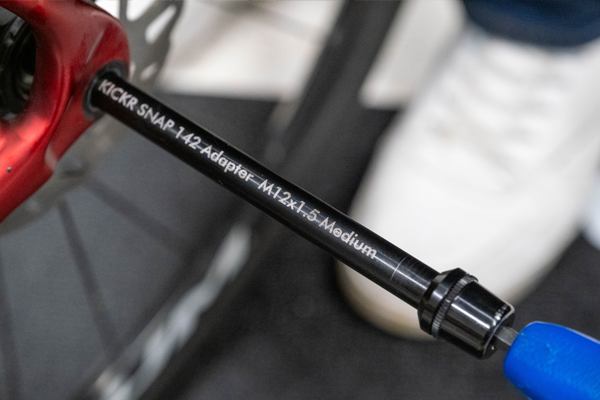
Next fit the turbo trainer specific axle your bike.
If your bike has a quick release axle, fit the QR Adaptor (provided) with the lever on the non-drive side.
If your bike has a thru axle fit a Thru Axle Adaptor (sold separately).
Note: To determine which thru axle adapter you need, look at the markings on the axle of your bike, use our Thru Axle Guide, or speak to one of our online bike experts.
4
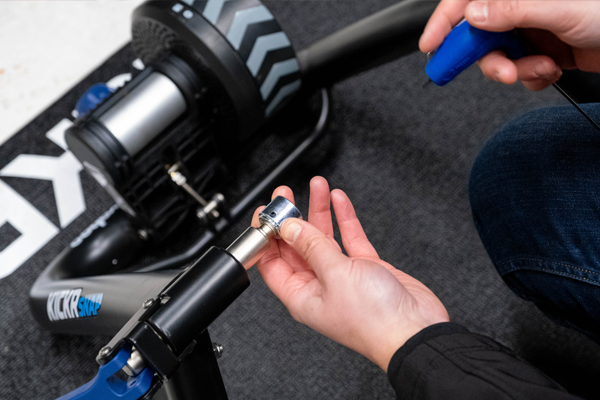
Next check the axle adaptors on the trainer
QR: If you are using a bike with quick release skewers, the adapters that come fitted to the trainer will fit your bike.
Thru Axle: If your bike is thru axle or has disc brakes, you will need to swap this adapter out for the thru axle adapter provided with your trainer.
5
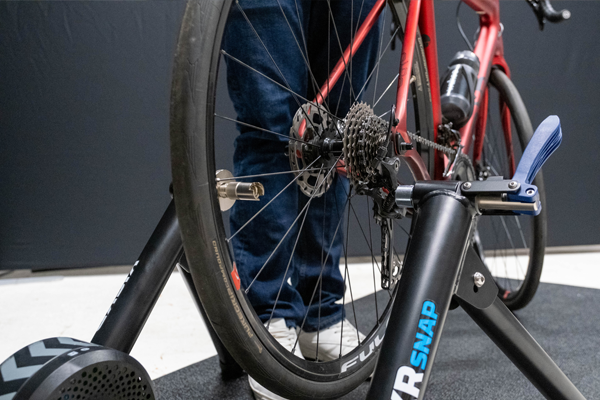
Now mount your bike onto the trainer via the rear axle. Clamp it into place and check that it's secure.
Note: Make sure both non-drive side of the axle are secure before closing the lever.
6
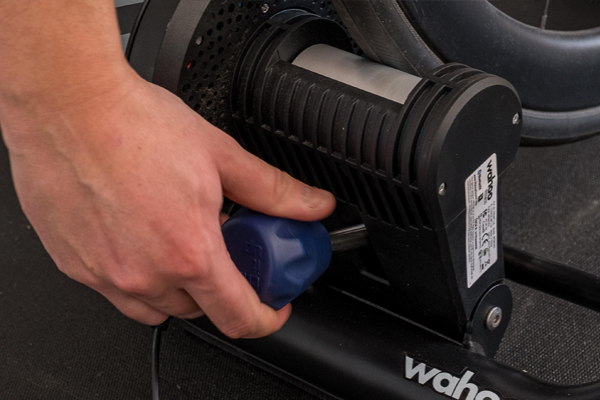
Turn the dial on the back of the trainer to move the roller up to the rear wheel of your bike. Ensure that it is tight enough that your wheel turns the roller without slipping, but not so tight that your rear wheel movement is restricted. You can always adjust this as you go if required.
7
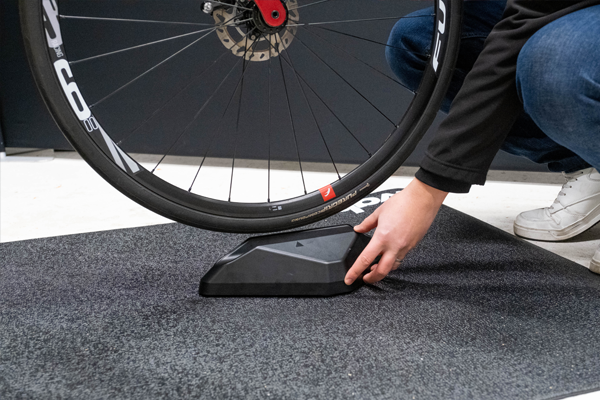
Place the front wheel block under the front wheel, this levels the bikes so you are in a natural flat riding position.
8
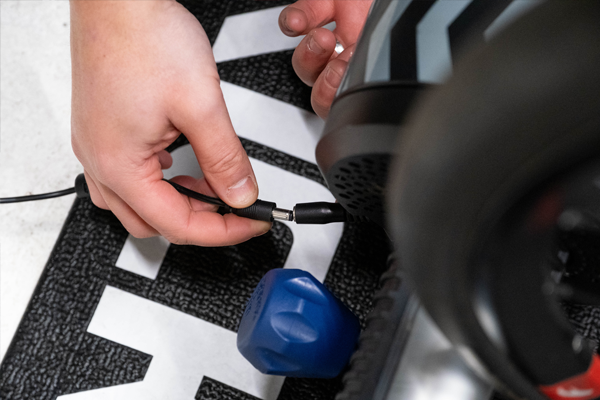
Plug in the power adapter if your trainer is a smart trainer.
9
To connect and set up your trainer, download the Wahoo App, or other manufacturer app if not using a Wahoo trainer. Zwift and other virtual training software apps are also available.
Note: Follow the instructions in each app to easily connect the software to your trainer.
10Step:
You are now all set up, it is time to ride.