

How To Fit SPD-SL Cleats
Fitting SPD-SL cleats to your cycling shoes is a straightforward process, but it’s important to do it correctly to ensure comfort and power transfer, but also to prevent injury. Here’s a step-by-step guide on how to fit your cleats.
Things To Consider Before Fitting Your Cleats
In this guide we follow the process of fitting new cleats to new shoes, however if you are replacing cleats onto your current shoes, you can either use the outline of the old cleat position or draw around the cleat using a pen you can easily rub off.
You might be asking, how do I know if I need new cleats? Well this is down to the wear on your cleats. There are indicators on the cleats such as colour strips, once these start to disappear, it’s a good indicator your cleats need replacing.
It is important to note that these cleats are the same for left and right so it doesn’t matter which cleat goes onto which shoe. The process we follow here, will apply to Look and Time cleats aswell.
To determine which cleat is right for you, is down to the amount of play you need or prefer. There are 3 options with Shimano :
- Yellow (6 Degrees)
- Blue (2 Degrees)
- Red (0 Degrees)
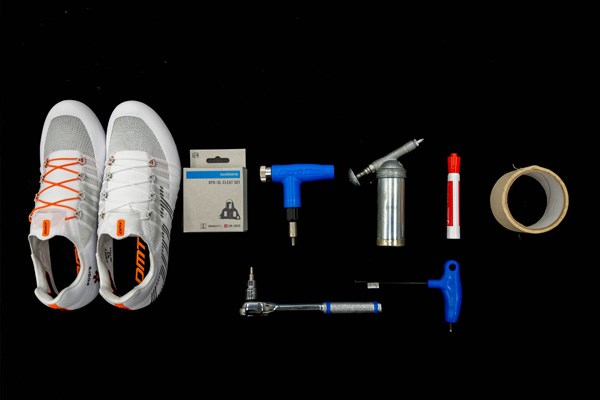
What You'll Need
- 4mm Allen Key
- SPD-SL Cleats
- SPD-SL Compatible Cycling Shoes
- Grease (preferably assembly grease)
- Tape (either electrical tape or masking tape)
- Non-Permanent Marker or Washable Marker Pen
1Step:
Before mounting anything onto your shoe, you will want to put the shoes on, find the first metatarsal on the inside of your foot. This is the bone sticking out on the inside of your foot.
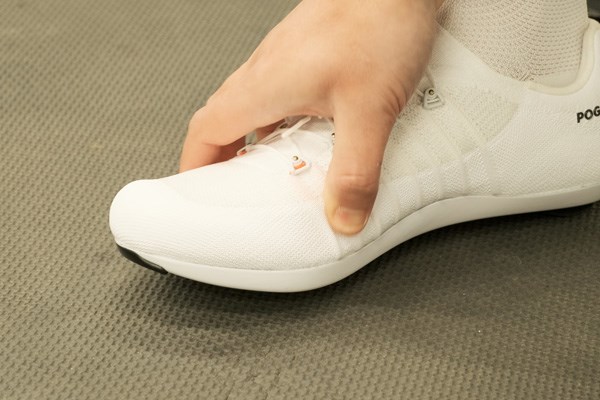
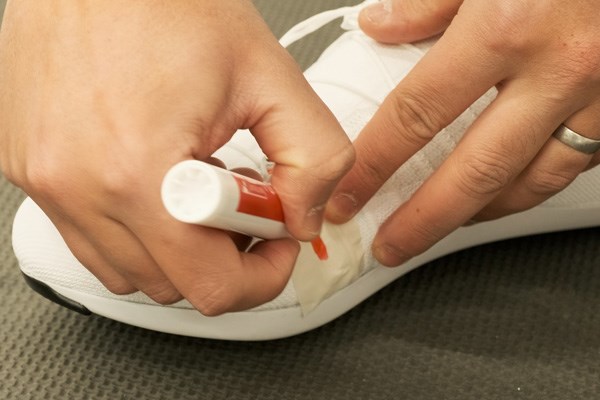
2Step:
Place a piece of tape in position and mark with a pen. This will indicate where you want the centre of the pedal axle to be.
 Note: Use tape, instead of marking your shoes.
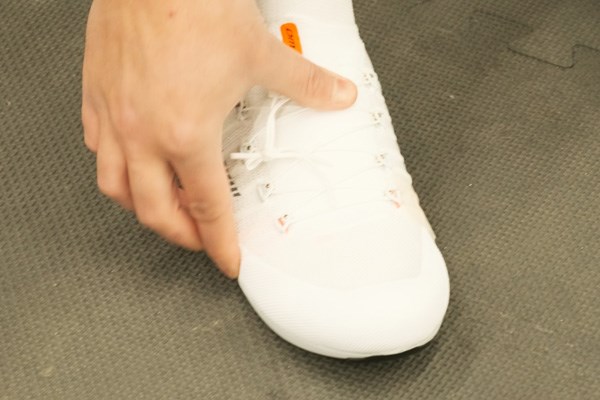
3Step:
Do the same for the fifth metatarsal on the outside of your foot. Then repeat this process on the other shoe.
4Step:
Next, place a small dab of grease in each of the cleat holes. This will make sure your cleats don’t seize and makes it a lot easier the next time you come to replace your cleats.

5Step:
Position the cleat so that the holes are lined up with holes on the shoe.
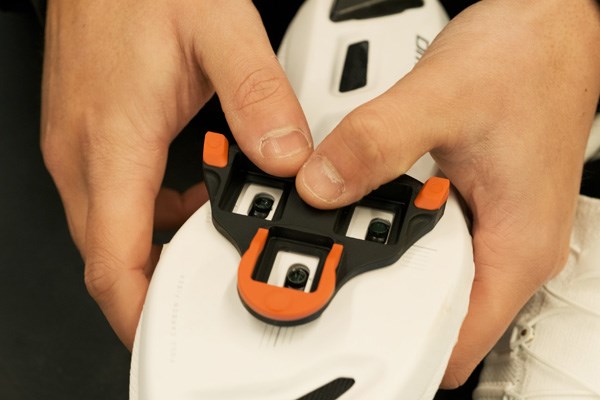
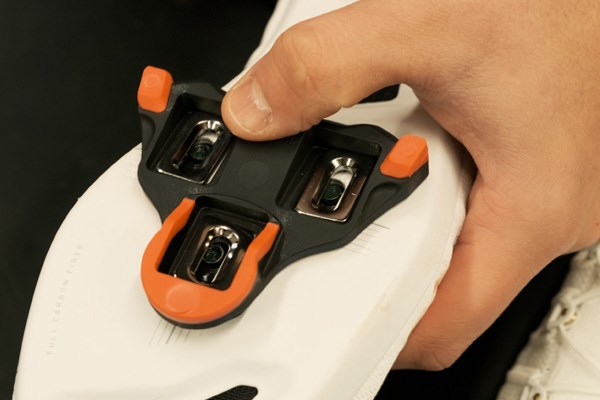
6Step:
Place a cleat washer on each of the cleat holes and screw in the bolts. Try not to tighten these bolts too tight so you can easily move the cleat into position.
7Step:
To find a neutral fore and aft position of the cleat, line up the indicator on the cleat with the mark you made earlier. Too far forward and this will sit under neath your toes rather than the ball of your foot and could lead to cramping. You can’t do any harm with how far back you place the cleat, so adjust this to where you feel comfortable.

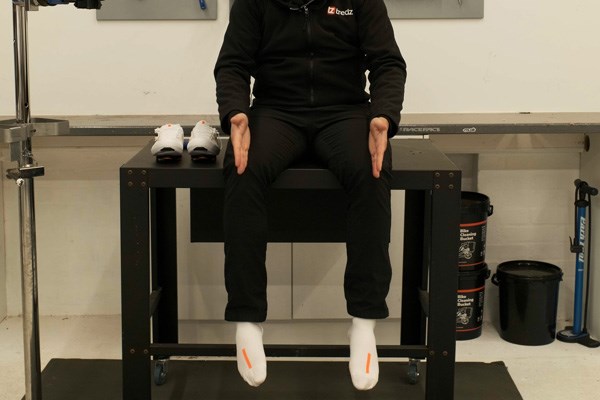
8Step:
Next you want to find the correct angle of the cleat, to do this you want to find your natural foot position. A good way of doing this is sitting on a high desk or chair and let your feet dangle at 90 degrees. The position your feet naturally fall in will determine the rotation of your cleats.
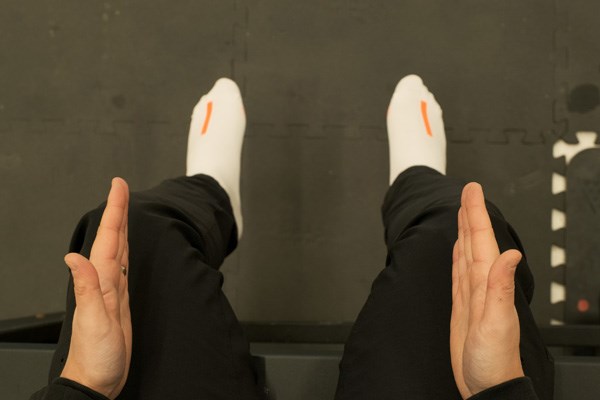
9Step:
For example, if your feet fall in a straight position you can set your cleats up in a straight position. However if your heels point in you want to rotate your cleats to the right or if your heels point out, rotate to the left.
10Step:
The simplest way of finding your optimal cleat position is to jump on the bike, either using a turbo trainer pedalling normally or leaning up against a wall and pedalling backwards. You want to make sure that your knees line up with your feet and there’s no strain on your joints.
11Step:
A useful trick is to video yourself pedalling just to make sure you are pedalling naturally and if anything needs changing.
Note: Make sure the bolts are tight before riding.

Once you have found the correct position for your cleats, make sure the cleat bolts are nice and tight using a torque wrench and at the correct torque settings for your shoe.
Now your cleats are fitted, its time to ride. However make sure your first ride with your new cleats and particularly your new shoes is an easy one, and take a multi tool or allen key with you incase you do need to do further adjustments to your cleat position.
This is a basic method for fitting cleats, however if you are still unsure or have any pain or discomfort with your set up, we would highly recommend a bike fit from a professional is the best way to ensure sure your cleats are in the correct and to avoid injury.
